June 8, 2026
Training an LLM
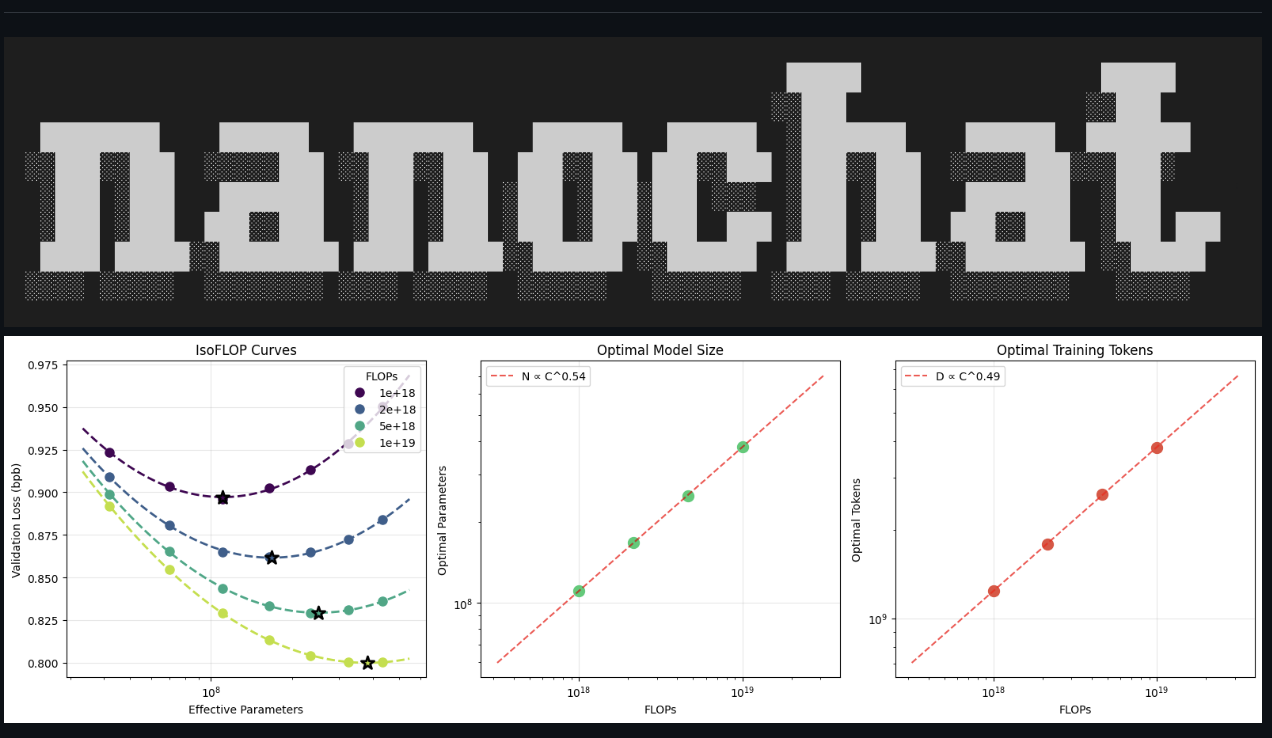
A while back, I saw this Andrej Karpathy tweet on nanochat. I bookmarked it, and thought, "wouldn't it be great to do this with a study group and build a GPT2-level LLM from the ground up?"
So a couple weeks later, as part of AI Study Camp, we teamed up with an ML expert to make this come alive.
This was the central thesis: you don't understand what you can't build from scratch. So, let's train a GPT2-level LLM from scratch to acquire an intuitive, first-hand understanding of how these models are built & trained, and what their limitations are + conceptual vocabulary around the topic.
I really enjoyed doing nanochat, primarily because I got a much more intuitive sense for how training works.
As part of my approach, I built this explainer to help me understand each step of the process more deeply. It includes an overview of how training works, and goes deeper into tokenization and BPE process with interactive modules.
As I built nanochat, this is what stood out to me most …
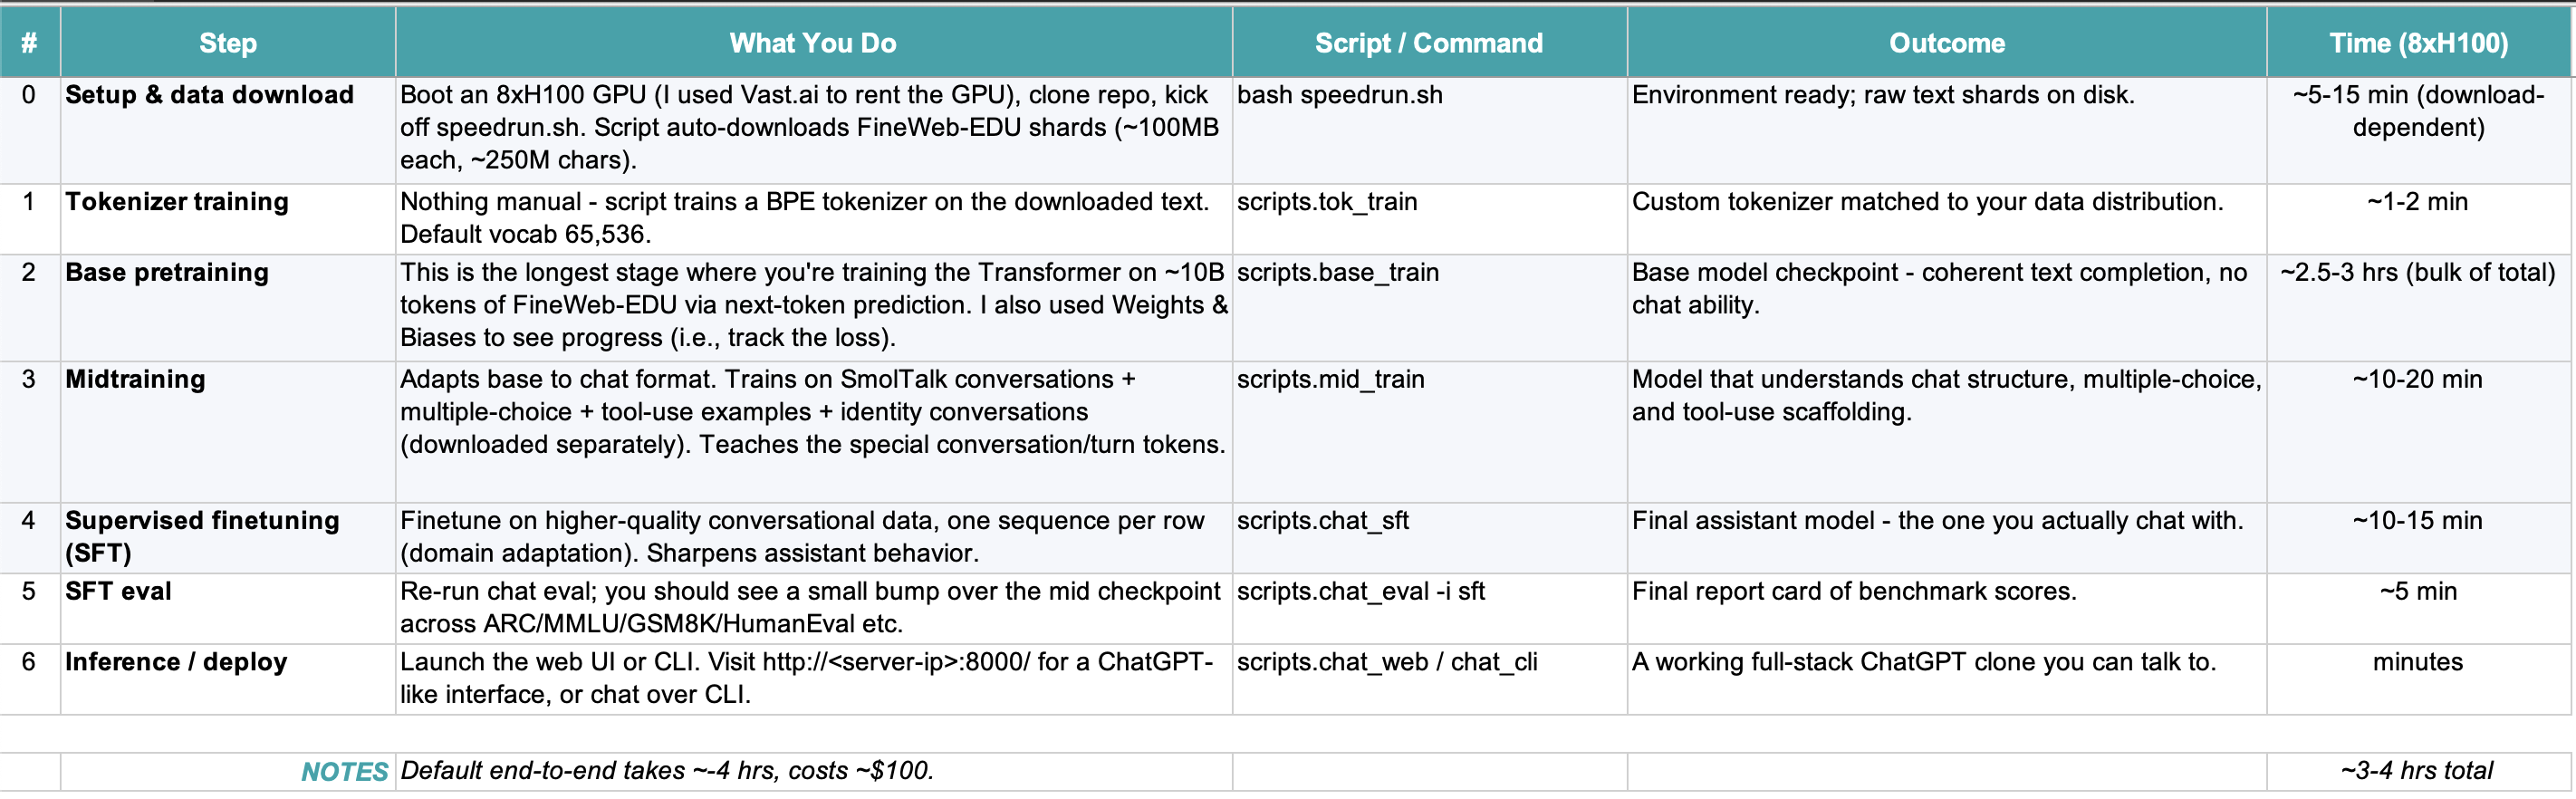
1. The nanochat repo gives you all the scripts/commands you need. Watch out!
It can be hard to actually understand what's happening under the hood if you don't take the step back to rebuild conceptually and try to explain. Hence the interactive explainer. Your coding agent is your best friend here — have it be your tutor, build graphics for you in the browser, and interactive modules so you can really understand.
2. Not all training steps are created equal
My favorite training steps were renting the GPU (something cool about renting Nvidia hardware!) and digging into how tokenization works (how did we go from downloading this dataset to creating a token dictionary to next-token-prediction?). For reference, these were the core steps of training nanochat:
3. Training means adjusting model weights to improve next-token prediction.
The core training loop = forward pass > compute loss > backpropagation > update weights. (e.g., compute diff between actual and estimate, and update weights so diff decreases. This is happening at scale).
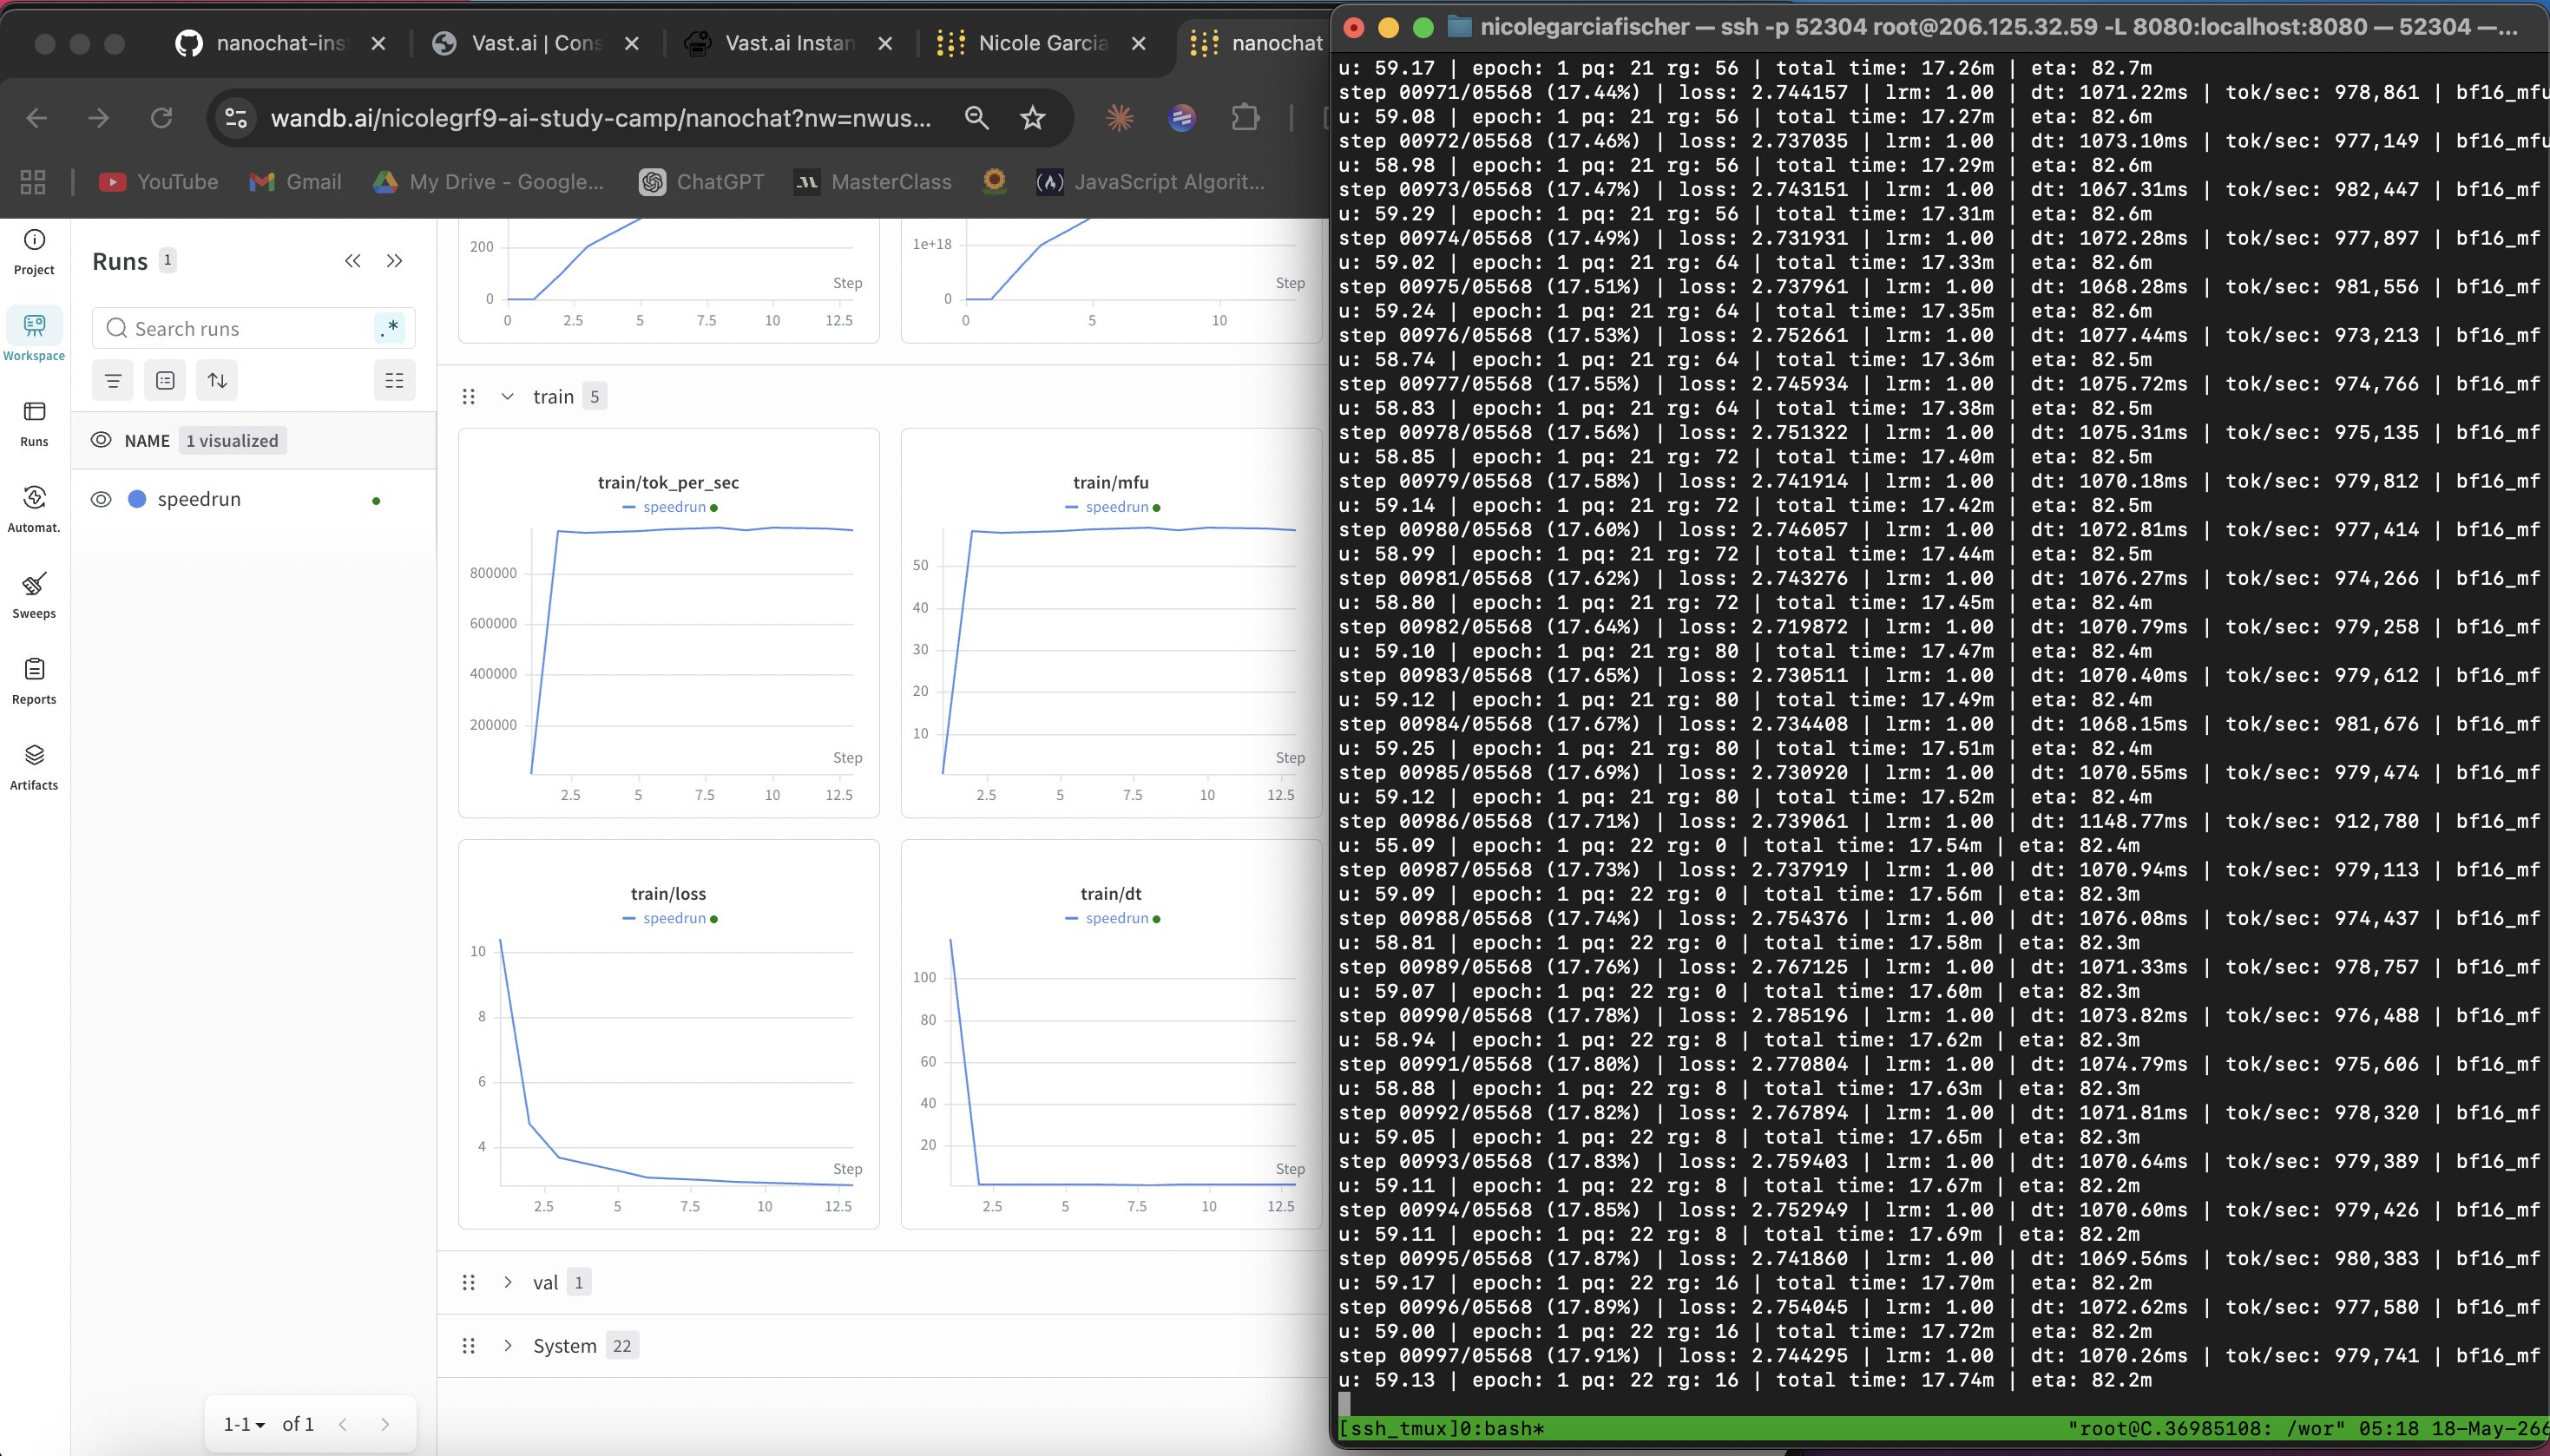
Below is an image of my screen while I trained the model. On the right is my training script running and on the left is Weights & Biases, showing the train/loss function go down as training progresses. This is what you want to see because it means the gap between what you saw in the training data and what the model is predicting is decreasing, meaning the model is getting more accurate.
I go deeper into this here with animated examples of how train/loss works (+ video demo below!)
4. Training optimizes average performance.
Essentially, LLMs give you the p50. If you're world class at something, an LLM's output won't seem that great to you.
5. My favorite technical concept to go deeper was tokenization.
An LLM is just a giant mathematical formula. It doesn't actually work with text, it works with numbers, because compute works with bytes. And the model gets billed by the piece. The longer the list of numbers it has to think about, the slower and more expensive each reply gets. So before handing bytes to the model, you want to pack them into fewer, bigger pieces.
That happens in two moves: slice the text into word-shaped chunks (letters, numbers, punctuation, spaces – never mixing types), then shrink each chunk by gluing together adjacent pairs that show up often, repeating until the dictionary is full. That second step is byte-pair encoding (BPE): count every adjacent pair of bytes, find the most common one, add it to the dictionary as a single new entry, then pretend that pair is one thing and do it all again. The dictionary size is set by the human/company training the model. For nanochat we used a vocab size of 65,536, so the merging just keeps going until the dictionary hits that ceiling. I built this explainer to walk through it step by step (+ video demo below!).
6. During midtraining and with supervised fine tuning, you give the model the 'assistant' personality.
If you don't do this step, the model would just try to continue what's statistically most likely to come next after your prompt and you would not see the 'question' and 'answer' chat we've all gotten so used to.
I often go back to Karpathy's 'textbook' analogy on the training phases in this video. Essentially, pre-training is all the textbook content in a chapter. You're reading the chapter to capture the material, see if there are some patterns. Supervised fine-tuning is like the examples at the end of the chapter; you see a question, how someone solved it, and the answer. And last, reinforcement learning, is seeing the question and answer, but you have to come up with the reasoning for how to get to the answer (and iterate on this until you get it right).

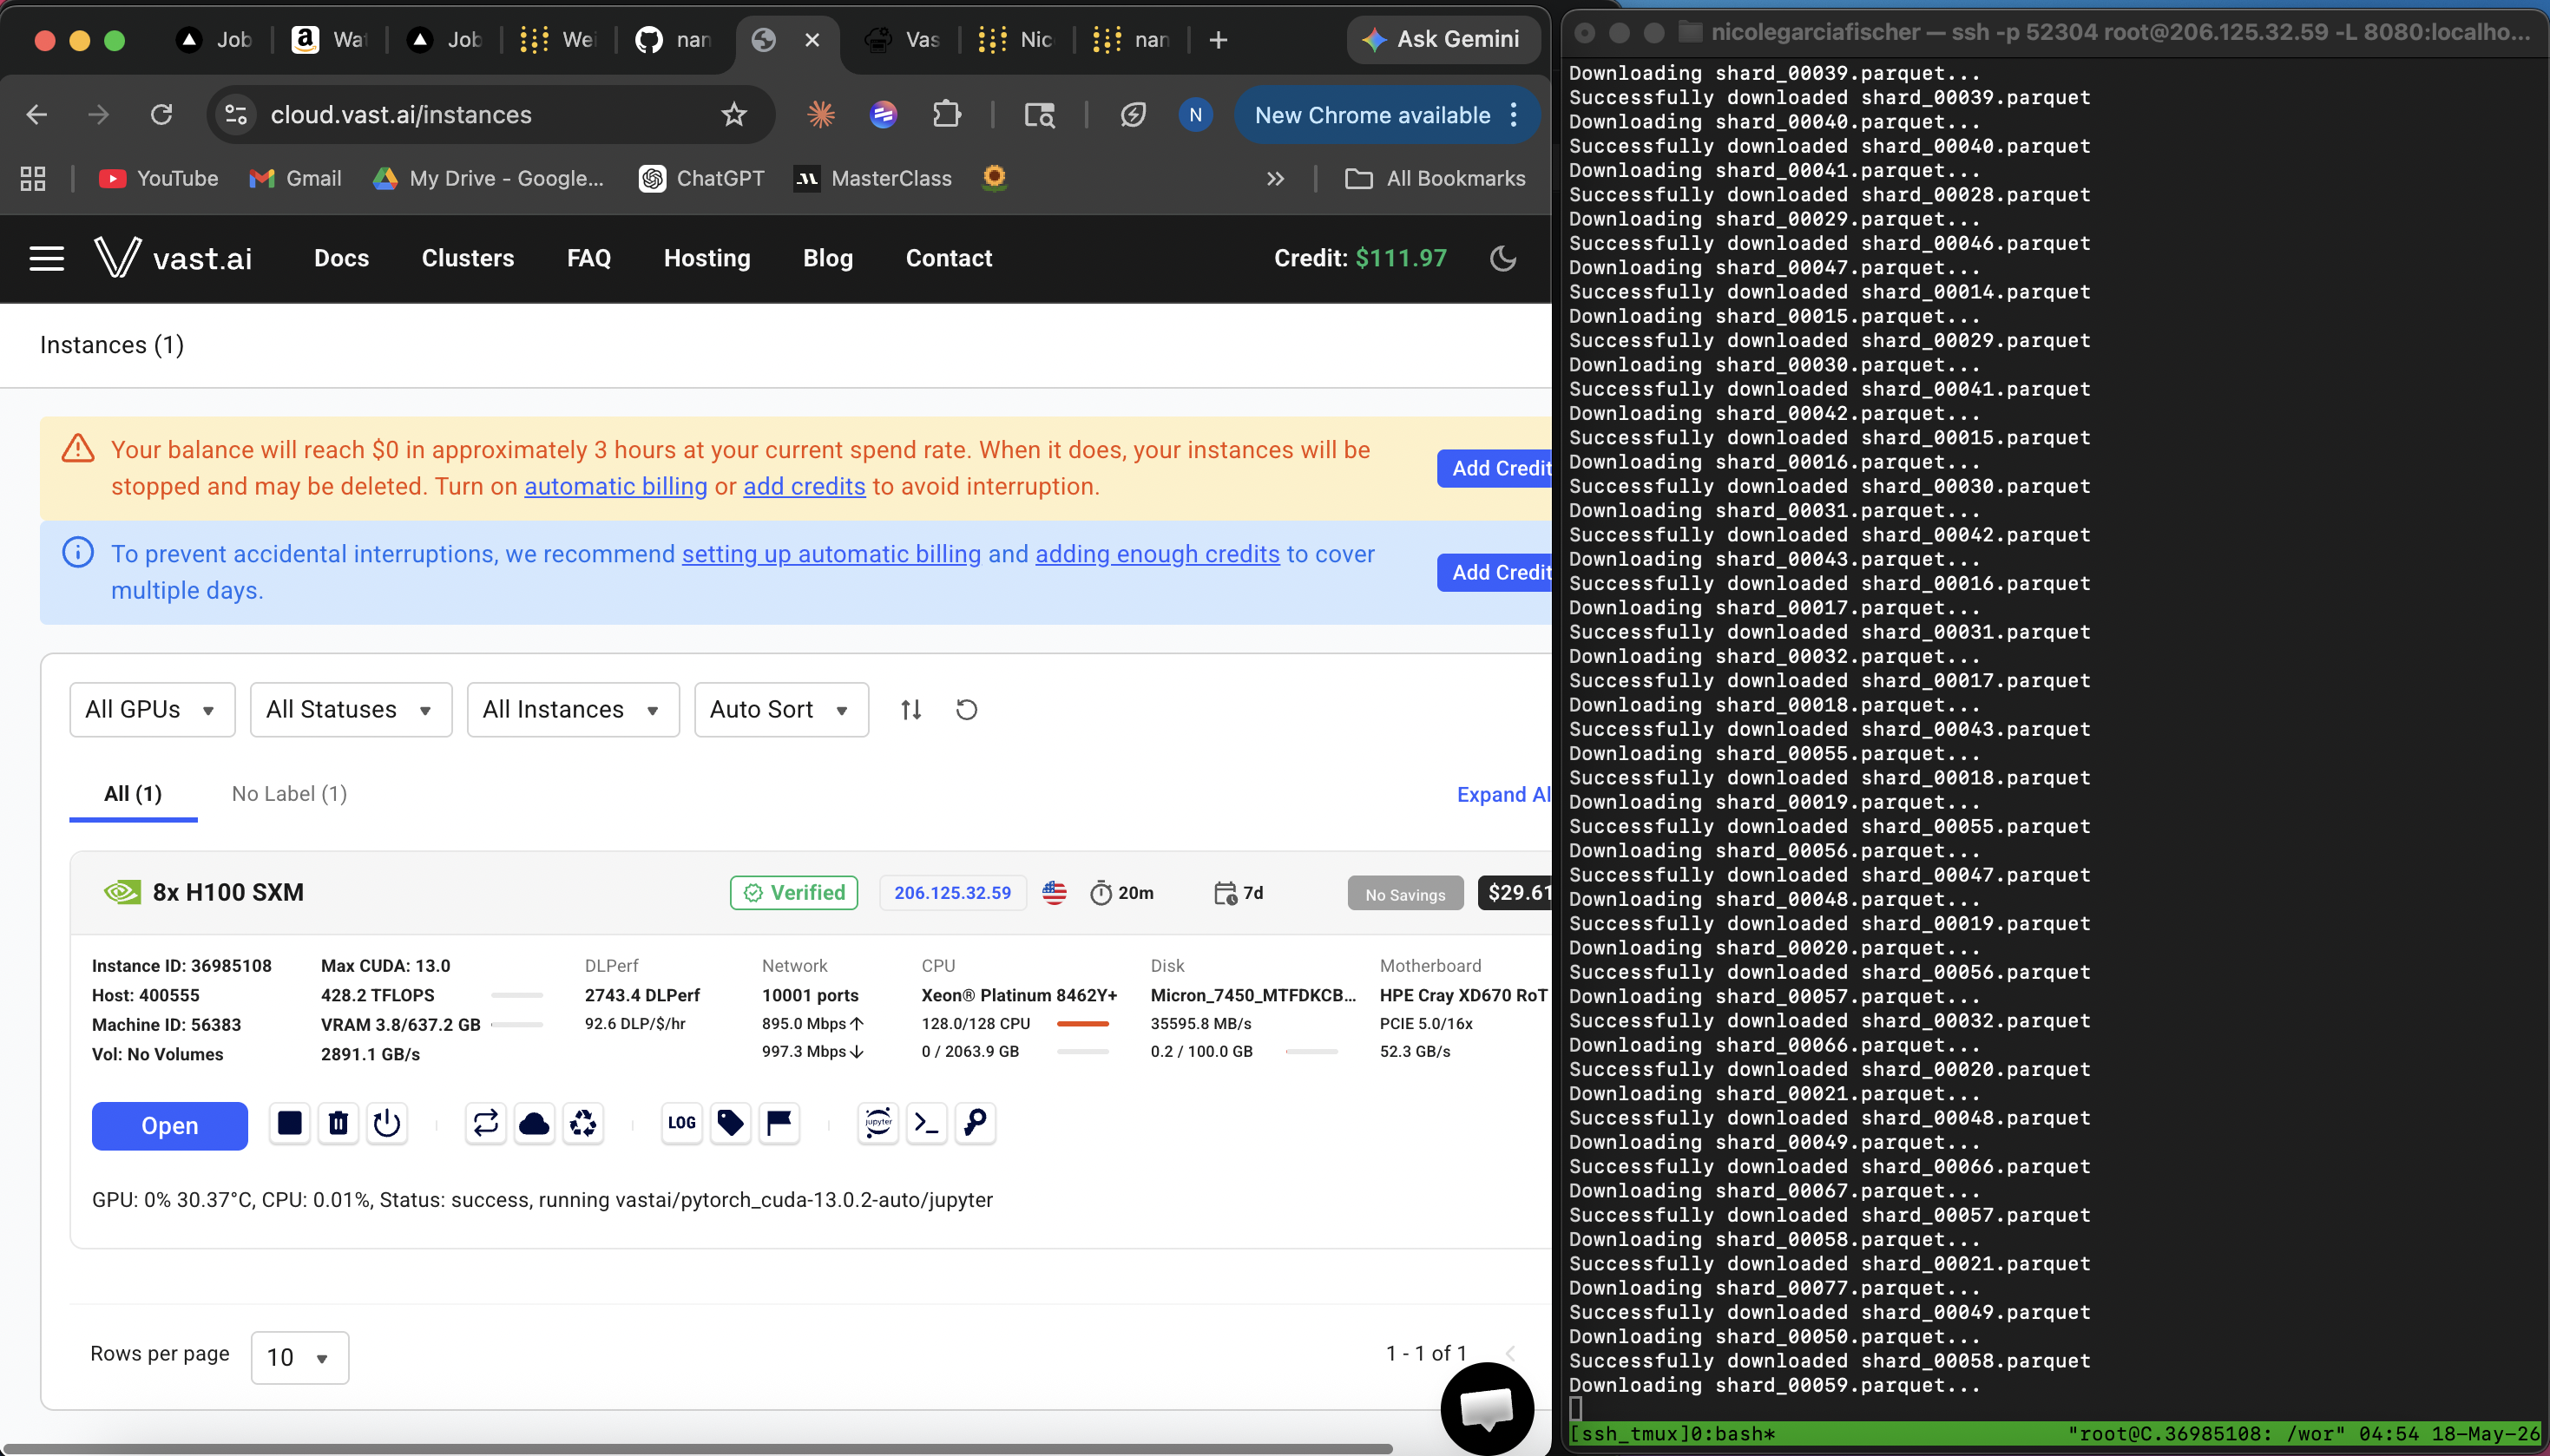
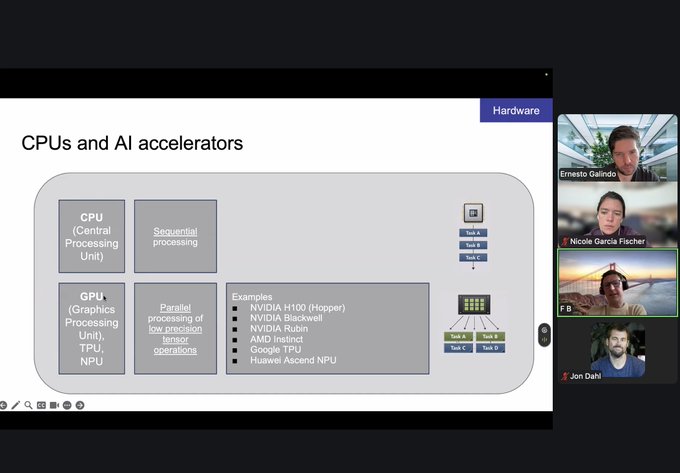
7. Hardware matters a lot.
CPU training is sequential. While GPUs are good for parallel processing. The difference is weeks/months spent training the model versus hours. We used vast.ai to rent Nvidia's H100 GPU, and Weights & Biases to see the results.
Here is Fabian Blaicher-Brown teaching my cohort about CPUs and GPUs.
Here I am renting my GPU!